Showing posts with label animals. Show all posts

Thursday, January 22, 2015

Praise for dappled things


All tasks have a soundtrack.  I am continuing to stitch Hazel's spots and there is verse running on a repeated loop in my head.


Glory be to God for dappled things -
   For skies of couple-colour as a brinded cow;
      For rose-moles all in stipple upon trout that swim;
Fresh-firecoal chestnut-falls; finches' wings;
   Landscape plotted and pieced -- fold, fallow, and plough;
      And all trades, their gear and tackle and trim.

All things counter, original, spare, strange;
   Whatever is fickle, freckled (who knows how?)
      With swift, slow; sweet, sour; adazzle, dim;
He fathers-forth whose beauty is past change:
                                Praise him.

I am not sure if poems find the situation or if they shape it.  Regardless, 'Pied Beauty', from the lovely mind of Gerard Manley Hopkins, is keeping me company.

I know the 'trout' reference is triggering the recollection.  Still, I should think on this poem more often.  Dappled things are beautiful and those that are strange enough, get collected or admiringly built into a new composition.


--- like a pheasant, soon to be flies and objets d'whatever.


Tuesday, January 20, 2015

Introductions...

This is Hazel:


She is 5'4", on the thin side (for now), and does not like long walks on the beach because that would be immanent death.


Otherwise, she is pretty normal for a rainbow trout.  I will finish her up soon and then make up a large hook and fly to suspend her from while in installation.  She has an extra pocket in the upper pallet of her mouth, so it should be a painless install.  That seems like it is missing the obligatory sacrifice to the art-gods, so I am sure there will still be crisis and material damages.

Hazel is here to serve as contrast to Hemingway in pattern construction.  This was her pattern sketch (yes, it has turned into scratch paper for other notes and yes,  she is wearing a hat and carrying a purse... as do all fish):


This is my internal interpretation:


As with the coelacanth, I started the trunk with the head, and the head started with the mouth.  However, I made all the appendages, the fins, first.  This was so that they could be stitched onto the trunk (sausage/body) as it was constructed.  I try to put on the appendages as soon as the attachment space has been stitched into creation on the trunk.  It is easier to applique when you have full access to the reverse-face of the base-fabric.  If you were to postpone appendage attachment, you would end up closing up your access holes into the inside and that elusive reverse-face.  Plus, you might forget about what you are doing or lose the limb.  I have done the later and felt like quite the idiot.


Provided I do not lose them, the soon-to-be-attached fins:


Fins attached to the reverse-face of the base-fabric:


Hazel's head en fillet... quelle dommage:


Sunday, January 4, 2015

Nietzsche Meatzsche

"He who fights with monsters 
                    should look to it that he himself does not
                                                                
                                                                  become a monster...


                                            And when you gaze long into an abyss

                                                                                                       the abyss also gazes into you."


I am pretty sure that this is EXACTLY what Nietzsche was visualizing.
And chewing.  Okay, all done with the snacking and now it is back to crocheting.

Saturday, January 3, 2015

Still thinking about the fish-sausage metaphors...

... the pig in a blanket bit, to be more specific, at the end.

So, what did I do with my day off from work?

1.  Find a sausage and make some pastry dough (see recipe below).


See, I said the head was just a draped triangle while describing pattern-making.  Not just my normal delusional ramblings...


2.  Finish draping the sausage and make the necessary upgrades.


Try not to get too attached.  You will be exposing your new friend to high heat, dispatching with a sharp instrument, then supping on the meaty-goodness.  Most likely with ketchup.

3. Brush with egg wash and decorate.


I think his name is Edgar and he is a Chinook Salmon.  Not that accuracy or standards will have a dramatic impact on the finished product, mind you.  Anywho, I am using paprika (red), matcha (green), turmeric (yellow), salt (pink), and nigella (black) for my pigments.

4. Bake, remove, and greet Edgar.


Hello there, Edgar.

5.  Sorry, Edgar.


This is just awkward now.


Multi-Purpose Pastry...

In all fairness, this is a crime against pie crust, biscuits, and puff pastry, but you wind up with a very forgiving dough.  As in, it will hold up to reheating, sculpting, and oozing fillings, while still possessing a good flake.

I am giving volumes and not weights because I am too lazy to use a scale.


Sift into a bowl (or dump it in and stir with a nonjudgmental fork):

2.5 cups of unbleached flour
0.25 cups of white sugar
0.5 tbs baking powder
2 tsp kosher salt

For later: 1 stick of chilled butter and cold water 


Here's later:  Gently work into the dry ingredients 0.5 cups (1 stick) of chilled, unsalted butter, pre-cut into 1.5 in. cubes.  Do this very gingerly with just your finger-tips.  Once the butter inclusions look to be the size of peas, either in the round or that same volume transformed to a crushed flake, stop touching.

Add in just enough cold water to get the dough to come together.  The amount of water will change depending on the day's weather and the freshness of your flour, so be prepared for anything.  Generally, it is about 0.75 cups.

Make a 'brick' of the dough, approximately 5x8 in., on a sheet of plastic wrap.  Wrap up your brick and chill for half an hour.

On a floured surface, roll out your dough to 0.25 in. thickness.  Fold inward in thirds, one direction, then in the other (so right to left, then up and down).  Basically, 4 folds total.  Or whatever.  The folds give you flaked layers, so fold as you like.  Re-wrap and chuck brick back into the fridge to chill for another half hour.

Do this folding and chilling procedure two more times.

Pre-heat your oven to 375 F., with a rack in the middle.  Get an egg wash ready (half egg, half water) and any other items to tart up your dough.

Roll out your dough to 0.25 in. thickness and use it as you like.  Bake until golden.

Tuesday, September 4, 2012

Welcome to my dojo

Hello there.


Every mountain goat needs a lair, someplace epic.


Perhaps a hollow mountain?


Say what???


Just my size.


Y'all come back now, hear?


This little goat is yet to be named.  He is just a quick, little, commissioned gift.  While it seems illogical, I think working smaller is more difficult than working large.  You end up using thinner yarn and a smaller hook.  So ultimately, there isn't a huge reduction in the number of stitches and it is much more demanding in the whole concentration/motor skills department.  It does use less materials, though.  I actually used wool yarn for this project.  I have a stock pile of uber-small wool skeins (abandoned to me by my mother... who is apparently much smarter than I and knows not to use these yarns for her projects anymore) and I am always trying to use them up.  Even though they are fine quality, virgin wool it is very hard to use.  It is much 'stickier' on the hook .  I guess the friction is good because it holds the knots and stitches together...but I seem to take twice as long on each stitch. 

I am sure there is some wisdom on the merit of these slow stitches that is fitting for a mountain goat dojo.  Perhaps the goat could be a consulting sensei?

Saturday, September 1, 2012

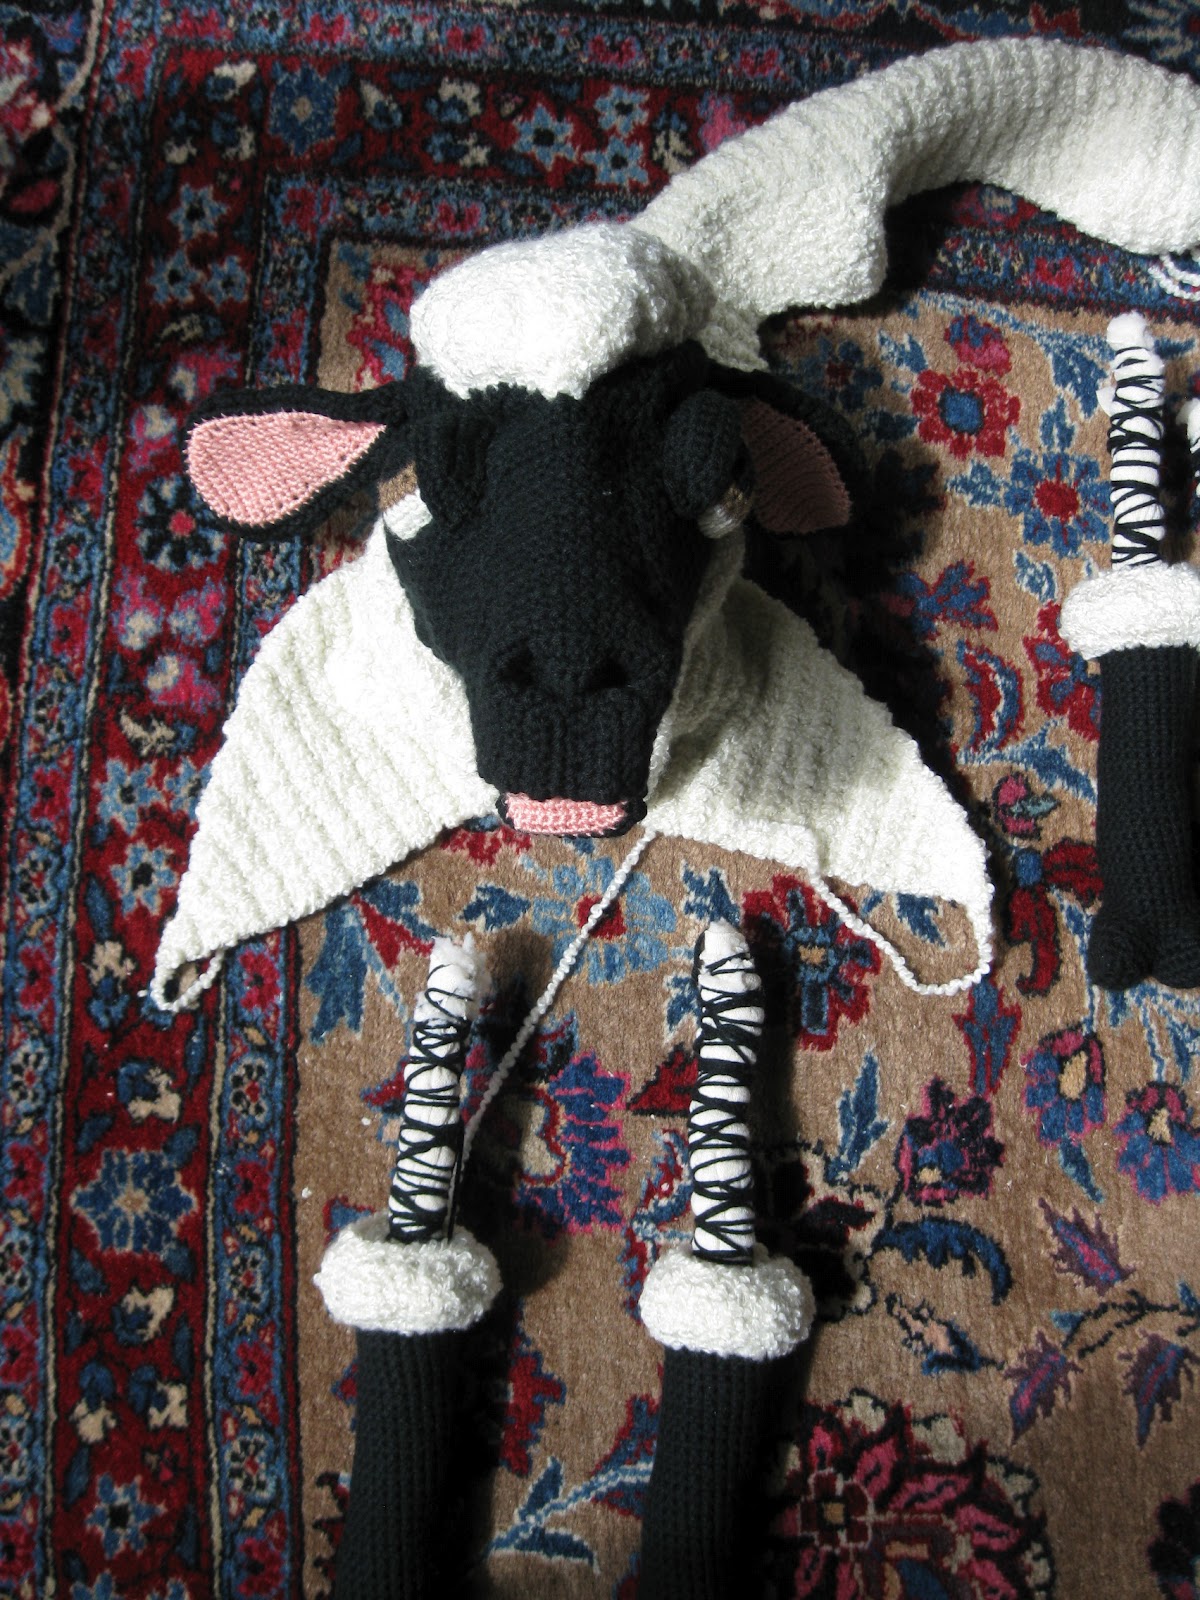
Sheep Done

Normally I just make things... you know, you have a vision and then you execute it.  This time, though, I had a bit of a much needed reality check.


I had been fretting a miscalculation in the expansion of the boucle yarn which made the sheep over double the expected size.  In my grand scheme, there would be a semi-rigid batting structure, which would strengthen the legs and allow the sheep to stand.  Of course, this growth spurt in the sheep's body made for too much weight on the leg supports.


The sheep was destined to remain forever on its side, like some fluffy, barnyard, serpentine Venus.  Which actually is kind of alluring, but not quite the grand statement I was going for.

Then I hatched a plan to put in wooden dowels as a core inside the batting structures.  The sheep would stand, grand and indomitable.  But then I had a bit of an epiphany.


I was show-and-telling the sheep in progress to the child of one of my friends.  What happened was the much needed reality check.  This little boy went up to the sheep, gave it a big hug, and then sat on it... and then hugged it some more.  I had been so caught up in my vision of a standing sheep that I forgot how kids want to play. 

Ultimately, this is a gift and the recipient should always come first.  The sheep needs to cuddle-able, first and foremost.  Something squishy to use as a pillow and a plaything.  So she should be seated and soft, huge as she is, errr, big boned and voluptuous.


It is so easy to forget the whole 'form follows function' when we are making things independently and unchecked.  I am embarrassed to say that I was going to ruin all future potential for snuggling and play with my wooden rods.  I guess that this is just a good reminder not to make things in a vacuum; sometimes the romantic vision can overshadow the original intentions. 

I am so glad that little boy sat on that sheep (though mom was pretty mortified).

And now, on to the next project!

Monday, August 27, 2012

We're going to need a bigger boat

The sheep was supposed to be done today.  But then, as always, things happened.


I started stuffing the body and the yarn for the body just kept expanding and expanding (I normally don't use the boucle).  Turns out that the sheep is now to scale and that my support system in the legs is now grossly inadequate.  So I need to rig something else up and I should finish and start accessorising within a few hours.  I think she needs a beret and a scarf.

I am kind of amazed at how big the expansion was.  It seriously doubled in size once it got stuffed.  See:


This sheep is going for a baby gift and it should out weigh the child for the first few years of its life.  While I enjoy giving ridiculous presents, this one was a bit unintentional.  It's like giving someone a killer whale; it's awesome....but now I have a killer whale...

Tuesday, August 21, 2012

Sheep Update

Call me a traditionalist, but I thought some legs were in order.


In order for the sheep to stand, there must be supports in the legs.  I always try to keep all the materials in stuffed animals wash and dryable, so the support system should ideally be somehow fabric and fiber based.  Here I am using rolled up fleece (left over from a Halloween costume) that is tightly bound with yarn.  Besides, I feel there is some poetry in the sheep's internal stuffing being fleece.  Okay, bad poetry.


After the head got finished, I started adding on the floof.  My methods for the body are almost always the same.  I like to work on the dorsal side first, anterior to posterior.  The only exception to this is anything with radial instead of lateral symmetry.


It has been a while since I used yarn like this white boucle.  I forgot why I hate using it so much.  There is just so much fluff that I can't see where my stitches are.  This means that I will need to focus less on the number of the stitches and more on the general shapes that I am making.  I suppose that this is for the best and will force me to be more sculptural.  The good news about this yarn is it makes big stitches.  So hopefully I will get done soon.


Back to work!

Sunday, August 19, 2012

Suddenly... SHEEP

I was making a sheep as a baby present and then the baby came early... so it looks like it's going to be all sheep all the time for the next few days.  No complaints though.  Making toys is always really gratifying.  Even though all the crocheting is giving me the very attractive 'sausage fingers' look.


Feel free to make a Godfather reference.  Okay, so I always start with the limbs and work towards the trunk.  Right now I am finishing up the head.  I love this awkward time when it looks really ugly and un-cute.  From here, everything that you add to it, makes it look more attractive.  It is interesting how faces look so strange when certain features that we expect to see are missing.  It's like looking at someone sans eyebrows.  Just a little detail that when missing triggers a, "burn it, burn it with fire!!!" response.


Fast forward an hour or so, and a little floof on top of the head makes a big improvement.

So I am going to go back to crocheting.  I just need to settle on a show marathon.  I have been flip-flopping between Top Gear (BBC) and River Monsters lately.  The end result is I want a Jag and I am developing a fear of fish.  Maybe I need to find something more pastoral...something bucolic and sheep-y?

Monday, August 13, 2012

I have run out of Persimmon Puns....but it's finished!

We use the buddy system here.


The intrepid persimmon pair is all finished.  But wait, who is that?


A bit closer...


Closer...


I figured that he could live in the pocket I built in the tops of each of the persimmon. I think his name is Steve.


Sunday, August 5, 2012

A Watched Turtle Never Does Anything

Nothing to see here.  Nothing out of the ordinary.


I made this turtle, promptly named 'Watch Turtle', as a present this past holiday season.  It has been explained to me that he earned the moniker from his habit of staring out, unfazed, defending hearth and home.


So he was given a pillow for more comfortable seating and a hat, to make him more 'official'.  The take away message is that I could have amounted to something, but no one ever gave me a hat.

Friday, August 3, 2012

Reverse Glass Painting


I bought an unfinished box at a craft store a while ago; you know, one of those cheap ones made of pine and with the crummy hinges and latches.  I think this one was supposed to be 'finished' by the home crafter as a jewelry box.  Well, I promptly butchered it.  I busted out all the interior compartments, removed the hardware, and I attached the top and the bottom 'lid' so I can build a sliding drawer to go in it.   I think that I will also build on all the trims and add some legs.  The main reason that I bought this box (as I am pretty much breaking down and rebuilding everything), is the pane of glass which is inlaid in the top lid.  It looked like....a new place to craft, muahahaha!!!


So I had an idea to make a reverse glass painting, collage, gilded...thing.  Ultimately, I decided to paint the birds and the eggs on paper, so I could get better detail and rendering.  There is a long history of reverse glass painting, but seeing really good examples of 'technical' reverse glass painting is fairly uncommon.  All the rules on how traditional painting works have to be abandoned.  Either you blend in one layer of paint or you layer many layers of compositionally identical paint.  The take away message is that you can mess it up without a lot of practice.  Practice wasn't going to happen here. 

Collage it is!


Since a sizing would need to go down for the gold leaf, I decided to use the sizing as my adhesive for the paper.  Paint went down first, then size, then paper, then more paint, then more size, and lastly the gold leaf.  Okay, I admit, I am not using my real gold leaf here; this is just the composition stuff.  Besides the fact that I am not using the good stuff on something that is just for my personal amusement, the composition leaf oxidizes beautifully.  I really like how it tarnishes into this chatoyance and iridescent rainbow.  Sometimes it pays to be cheap.


I think that I am going to carry through the idea of a 'Nest Box' on the inside, both in decoration and even with objects.  I have quite a few bird eggs and I think that they might enjoy a home in here.


Back to work!


Some general background on reverse glass painting:
http://en.wikipedia.org/wiki/Reverse_glass_painting

And my main complaint on the wiki page above, is that they don't mention the most famous modern use of reverse glass painting.  The Blue Rider Group, a sub-unit in German Expressionism, really embraced the tradition of Bavarian glass painting (in addition to their other traditional revivals) and made some lovely pieces.  So here is a basic overview on them:
http://en.wikipedia.org/wiki/Blue_Rider